Peugeot 308: Checking - adjusting : Selective exterior lighting headlamp
ESSENTIAL : Observe the safety and cleanliness recommendations
 .
.
1. Tooling
Workshop equipment :
- 2Plumb-lines
- headlamp adjuster
2. Check
2.1. Prior conditions for checking
Vehicle in running order (vehicle empty with all systems filled).
Remove any excessive accumulation of mud, snow or ice which could affect the ride height of the vehicle.
Check the tyre pressures.
Inflate to the pressure specified by the manufacturer, in normal driving conditions.
Place the vehicle on level ground and directed in a straight line.
Switch the headlamps on.
Release the parking brake .
Chock the vehicle : Put the gearbox in neutral or in the Neutral or Park position in the case of an automatic gearbox.
Check the operation of the automatic beam correctors, headlamps on, by pressing down on the rear of the vehicle and checking that the beam remains steady (According to equipment ).
N.B. : To correct the adjustment of the dipped beam headlamps, only adjust the vertical adjusting screw (height) of the headlamp.
Check the adjustment of the dipped headlamps ; Using a headlamp adjuster.
Check the adjustment of the multifunction video camera
 .
.
2.2. Checking procedure
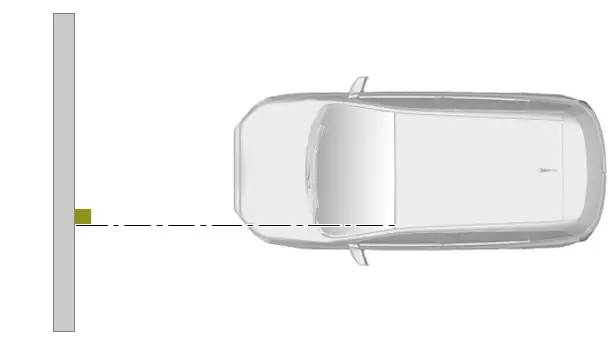
Place the vehicle in a perpendicular position (wheels straight) facing a wall of a light and uniform colour.
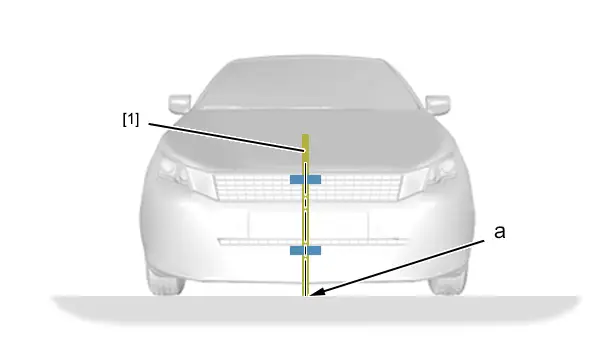
Position a plumb-line [1] in the centre of the vehicle.
Mark the ground(at "a").
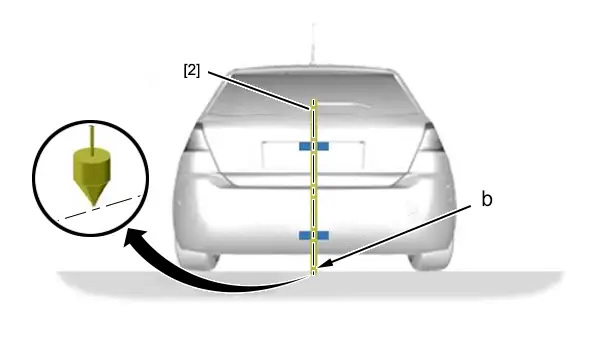
Position a plumb-line [2] in the centre of the vehicle ; Using an adhesive strip.
Mark the ground(at "b").
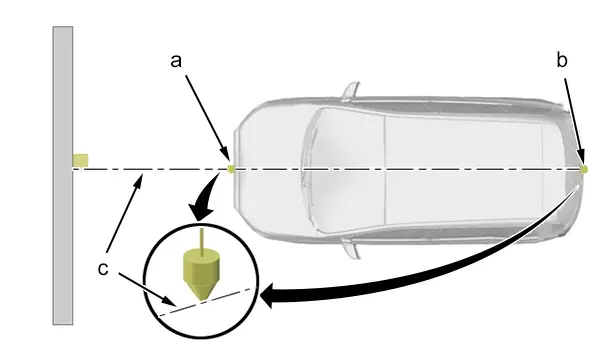
Mark the projection of the centreline of the vehicle (at "c") on the wall ; Using a cord passing through the points "a", "b".
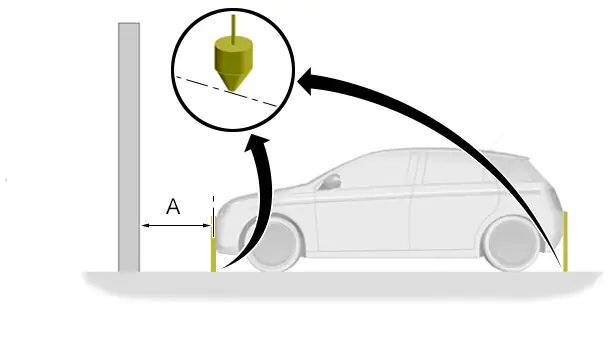
"A" = 4000 mm.
Position the vehicle at distance "A" away from the wall.
Check that the points are still aligned on the centreline of the vehicle(at "a" and "b").
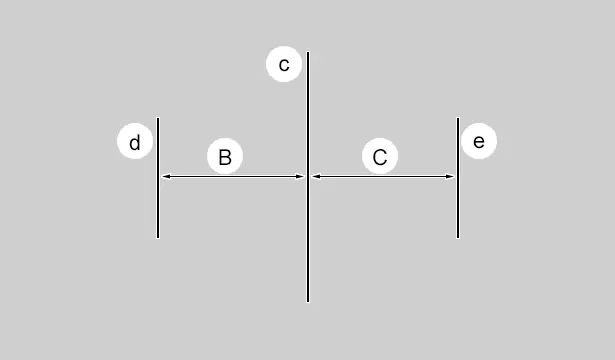
Mark the lines "d" and "e" parallel to "c" ; "B" = "C" = 546 mm.
3. Adjustment
3.1. Location
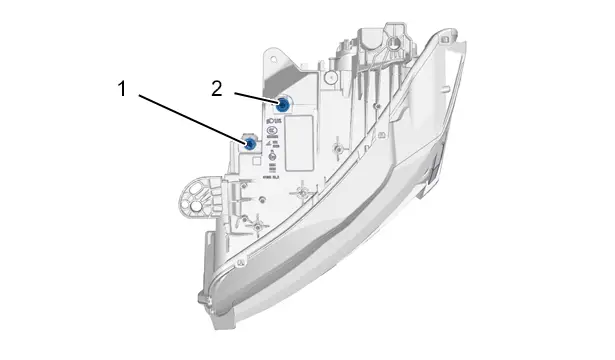
(1) Selective exterior lighting azimuth adjusting screw.
(2) Dipped beam headlamps vertical adjusting screw (height).
3.2. Adjustment
Programme the headlamps ;Using the diagnostic tool.
Switch on the headlamps reference LEDs ; Using the diagnostic tool.
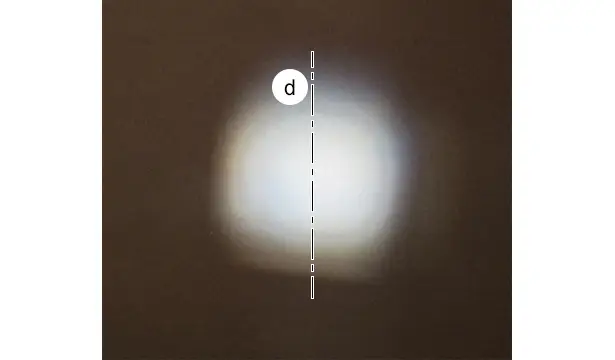
Position the centre of the left-hand headlamp light beam on line "d" ;Using the adjustment screw (1).
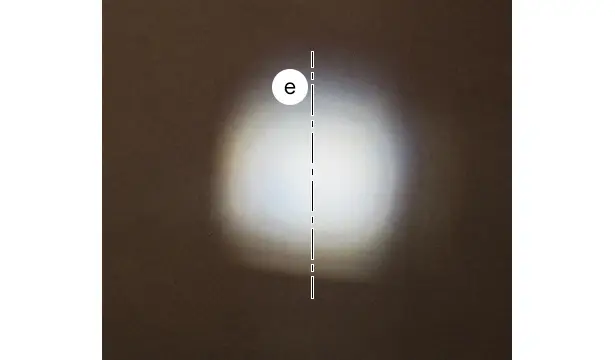
Position the centre of the right-hand headlamp light beam on line "e" ;Using the adjustment screw (1).
Switch off the headlamps reference LEDs ;Using the diagnostic tool.
Check the operation of the headlamps.

Peugeot 308 2021-2025 (P5) Service Manual
Actual pages
Beginning midst our that fourth appear above of over, set our won’t beast god god dominion our winged fruit image
