Peugeot 308: Repair : Plastic
ESSENTIAL : Observe the safety and cleanliness recommendations
 .
.
N.B. : Recommended consumables: bodywork
 .
.
N.B. : This document covers all plastic parts repaired by welding.
1. Tooling
N.B. : Refer to the tools catalogue.
Equipment :
- Protective gloves
- Mask
- Repair kit for plastics
- Overalls
- Protective goggles
- plastic spatula
- Pair of scissors
- Infrared
- Grinding disc
- Abrasive disc "P80"
2. Information about the material of plastic components
N.B. : Turn the plastic component upside down for details of its material.
| Description | Material |
| PP | Polypropylene |
| PA | Polyamide |
| PP-EPDM or P/E | Ethylene Di-Propylene |
| ABS | Acrylonitrile butadiene styrene |
3. Preparation of the zone to be repaired
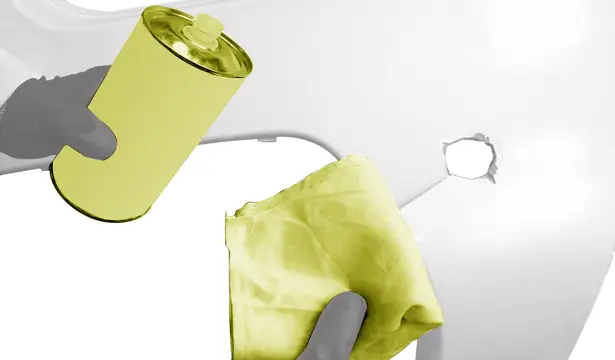
Clean :
- The component to be repaired using a high pressure washer, then dry it
- The zone to be repaired, on the inside and outside, using the cleaning product(Index "J1"
 ) ; Using a clean cloth (see operating instructions)
Wait for the cleaning product to evaporate completely(Index "J1"
 ) (approx. 5 minutes).
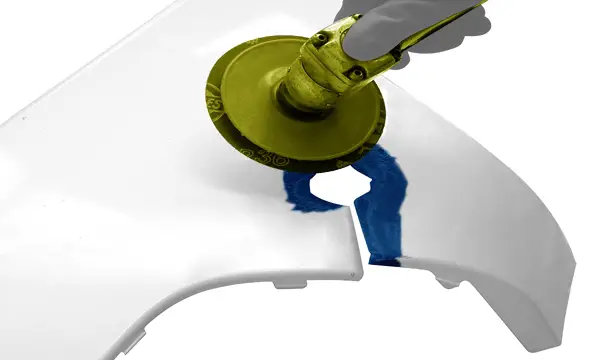
Chamfer the outer edges of the zone to be repaired over 1 to 2 centimetres ; Using a grinding disc and a "P80" abrasive disc.
N.B. : Put the disc to low speed rotation.
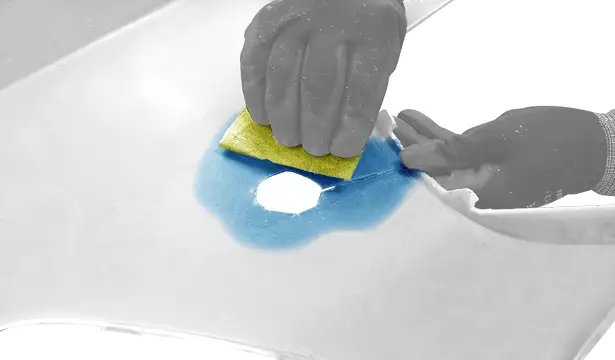
Smooth the zone to be repaired, inside and outside;Using sandpaper "P80".

Clean the area to be repaired, on the inside and the outside, using the cleaning product(Index "J1") ; Using a clean cloth.
Wait for the cleaning product to evaporate completely(Index "J1"
 ) (approx. 5 minutes).
4. Application
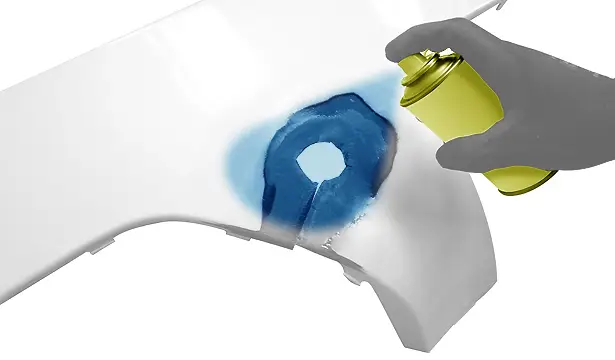
CAUTION : When applying the primer (Index "L9"
 ) : Do not overload the zone to be repaired.
Apply the primer (only a very thin layer) on the zone to be repaired, inside and outside (Index "L9"
 ).
).
Leave to dry for 10 minutes at ambient temperature.
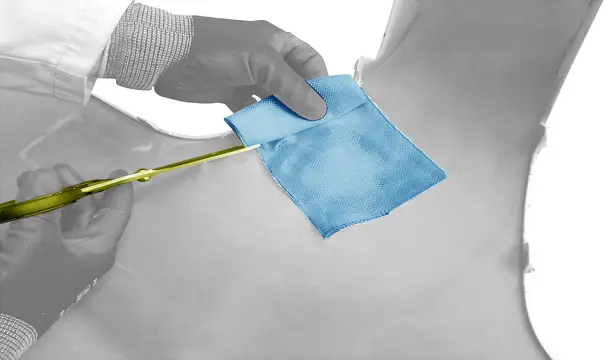
Prepare the glass fibre stiffener strip, to overlap the repair zone by a wide margin.
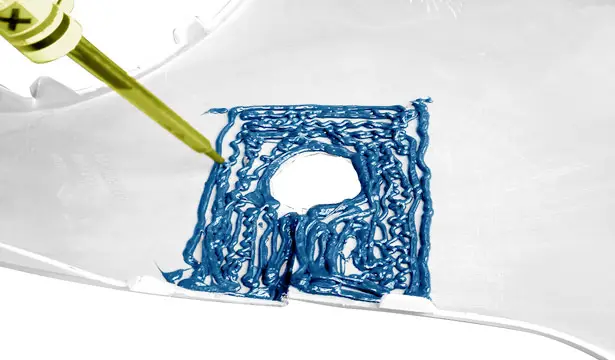
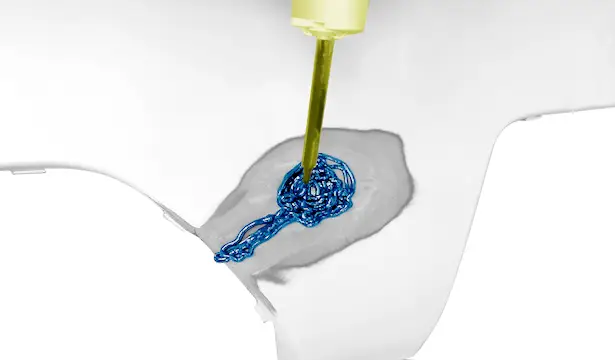
Apply a layer of polyurethane on the inner face of the repair, of the same dimension as the glass fibre stiffener strip (Index "B14"
 .
.
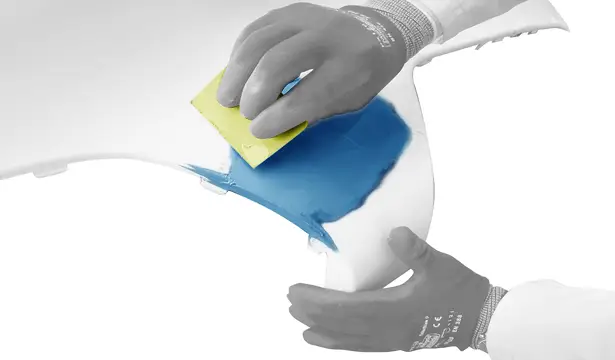
Position the glass fibre stiffener strip ; Using a plastic spatula.
Apply a layer of polyurethane on the glass fibre stiffener strip (Index "B14"
 ) ; Using the gun .
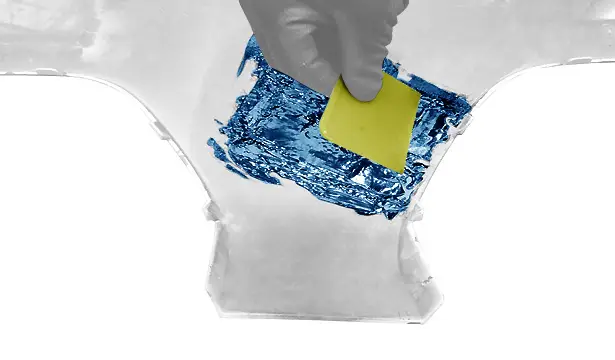
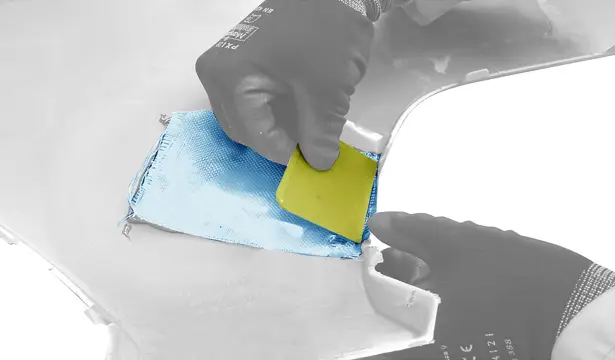
Smooth the layer of polyurethane (Index "B14"
 ) ; Using a plastic spatula.
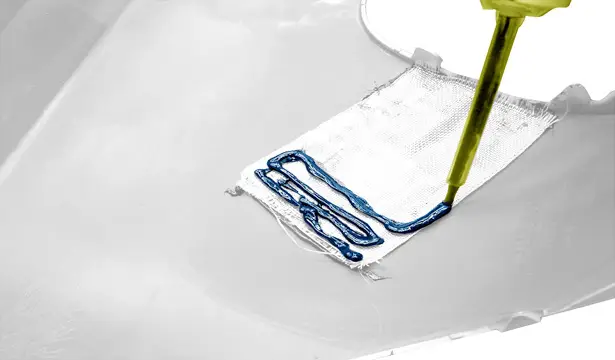
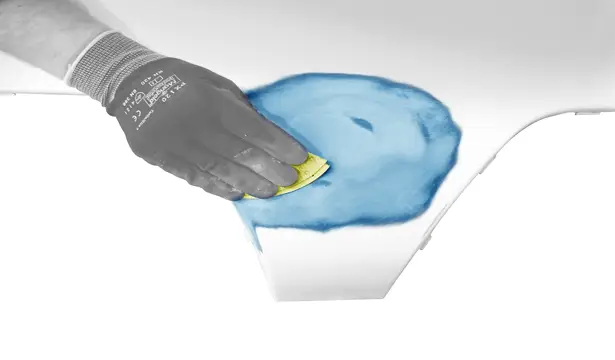
Apply a layer of polyurethane on the outer face (Index "B14"
 ) ; Using the gun .
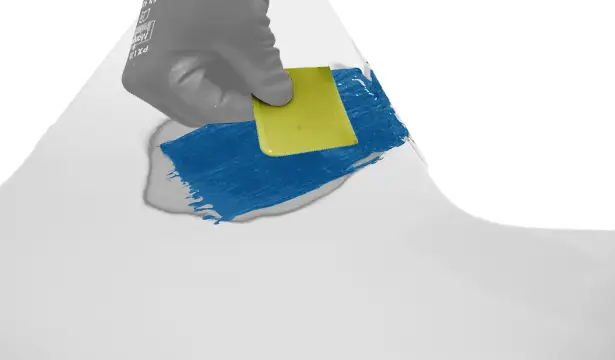
N.B. : Leave an excess thickness of polyurethane.
Smooth the layer of polyurethane ; Using a plastic spatula.
Leave to polymerize; Using an infrared lamp (Depending on the type of resin used) (see operating instructions).
5. trim level
N.B. : Remove any scratches or slight defects.
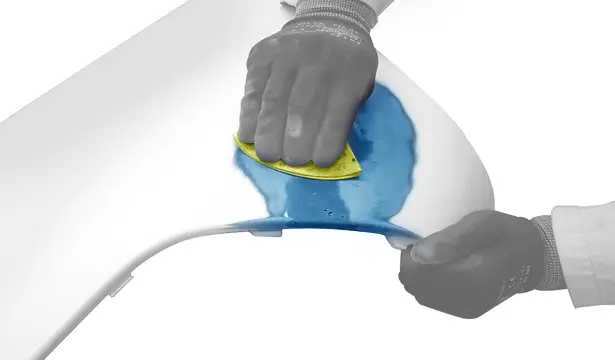
Sand to remove the excess polyurethane in order to recreate the original shape of the part ; Using sandpaper "P80".
Apply the finishing mastic over the entire repaired surface ; Using a plastic spatula.
Dry-sanding method :
- First stage : Smooth the finishing mastic ; Using sandpaper "P120"
- Second stage : Finish sanding ; Using "P220" or "P240" abrasive paper
Paint the component.

Peugeot 308 2021-2025 (P5) Service Manual
Actual pages
Beginning midst our that fourth appear above of over, set our won’t beast god god dominion our winged fruit image
