Peugeot 308: Repair : Seat trim (Leather )
ESSENTIAL : Observe the safety and cleanliness recommendations
 .
.
CAUTION : Follow the user instructions in the seat trim repair kit.
1. Tooling
Workshop equipment : Seat trim repair kit.
2. Preparation of the zone to be repaired
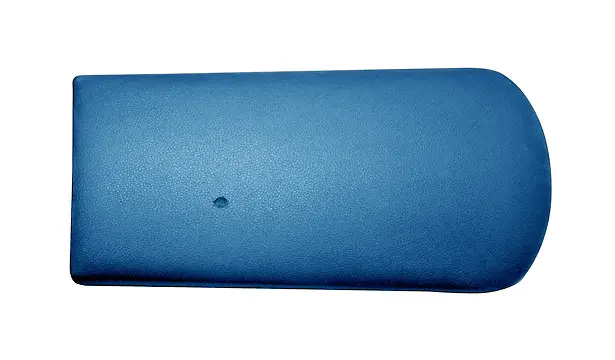
Clean the zone to be repaired using the degreaser provided in the repair kit.
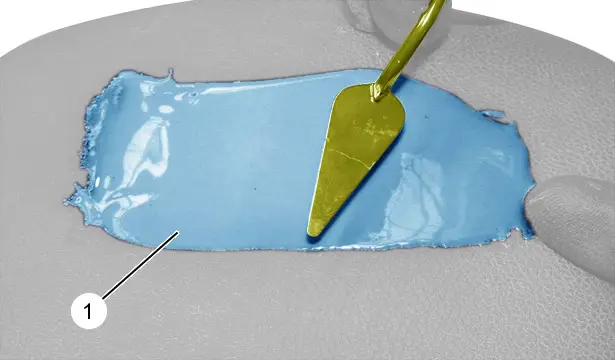
Uniformly spread the product provided in the repair kit ; Using the adhesive knife (Refer to the supplier´s user instructions for the product to use ).
Allow to dry for 20 minutes or accelerate the drying using a heat source.
Take away the moulding (1).
Degrease using the degreaser included in the repair kit.
Allow to dry.
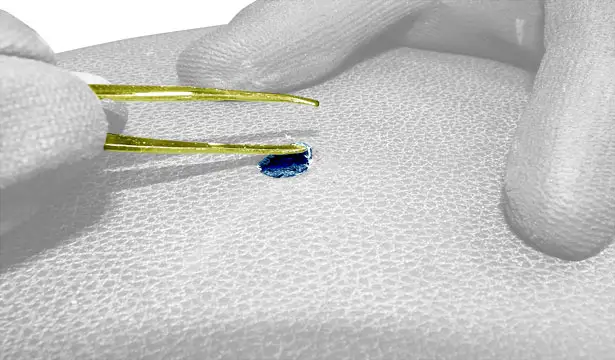
Trim the edges of the hole ; Using a pair of scissors.
Separate the leather from the foam ; Using pliers (Tweezers ).
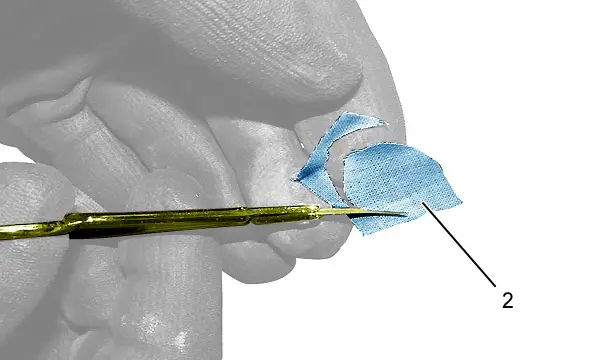
Cut the piece of backing fabric (2) into a rounded overlapping shape.
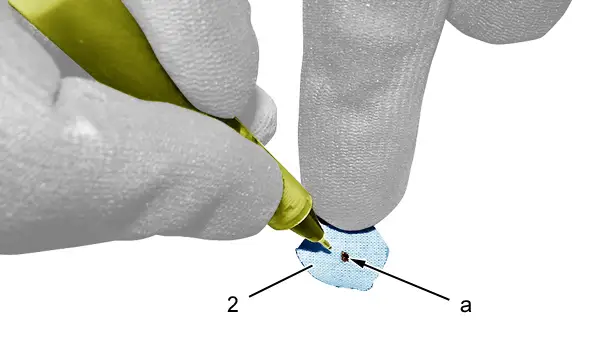
Make a mark in the centre of the piece of backing fabric (2) (at "a").
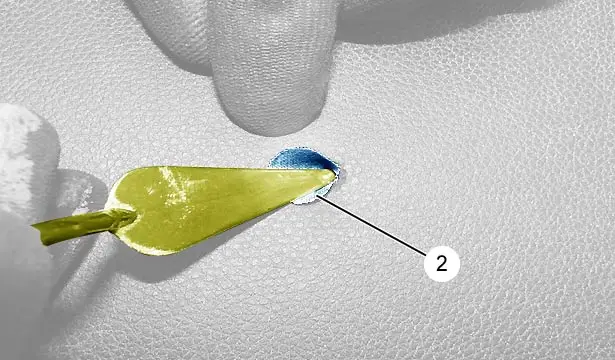
Apply the backing fabric (2) and pull it taut ; Using pliers and a knife.
3. Applying the liquid leather
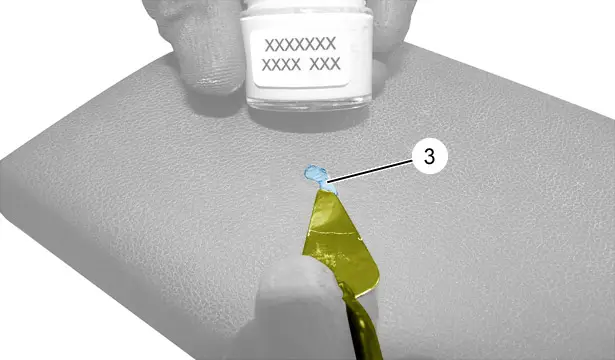
Apply the liquid leather (3) between the leather and the backing fabric (2).
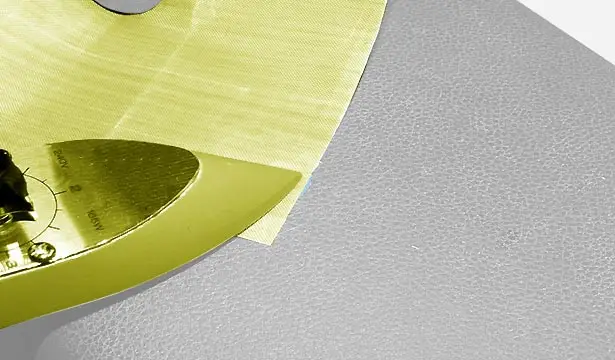
Heat with the iron at index 2,5, protecting the hole with the sheet of teflon, for the duration indicated by the supplier (Refer to the supplier´s user instructions for the product to use ).
Use the heat to make the liquid leather stick to the backing fabric.
N.B. : Repeat the operation of applying liquid leather to make it flush with the hole.
Remove any excess of liquid leather on the outer surface.
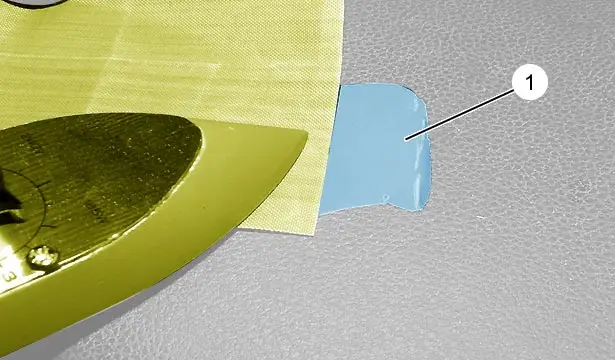
Take the moulding (1) and place it over the hole filled with the liquid leather.
N.B. : Press gently so that it sticks.
Heat the assembly with the iron, index 2,5.
Take away the moulding (1).
4. Preparation / Application / Painting
Apply the repair mastic for a better finish (using fresh air to dry it) (Refer to the supplier´s user instructions for the product to use ).
Carefully smooth with an abrasive pad to spread the porosity.
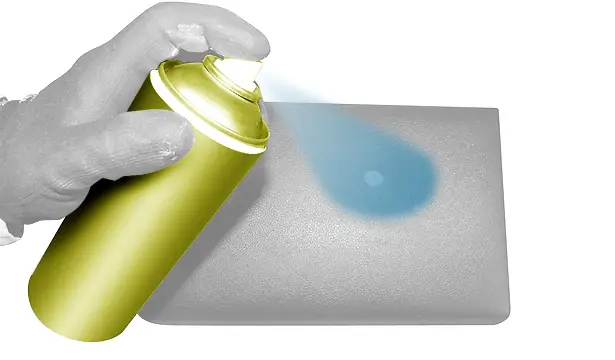
Apply a thin coating of primer (Refer to the supplier´s user instructions for the product to use ).
Leave to dry for 10 minutes (approx.).
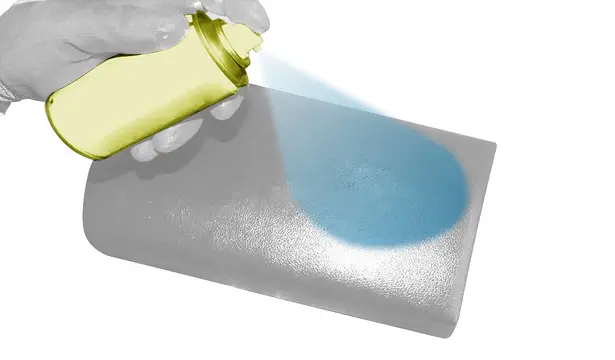
Apply the corresponding paint to the repaired zone (Refer to the supplier´s user instructions for the product to use ).
Leave to dry for 10 minutes (approx.).
N.B. : Repeat the following in two stages.
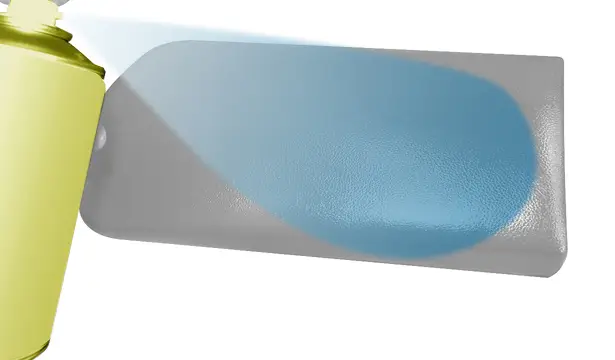
Apply the finishing gel (Refer to the supplier´s user instructions for the product to use ).
After the last application leave to dry for 30 minutes.

Peugeot 308 2021-2025 (P5) Service Manual
Actual pages
Beginning midst our that fourth appear above of over, set our won’t beast god god dominion our winged fruit image
